Hello and welcome to my blog today. I am so happy that you are here. Today I am continuing with showcasing cards made with the Story Book Gnomes suite. I decided to make one of the gnomes into a ladybug. Yes, a Gnome Ladybug.
It’s Fancy Fold Friday and I thought I make a Pop-Up Front Panel. It looks complicated but it is easy to make.
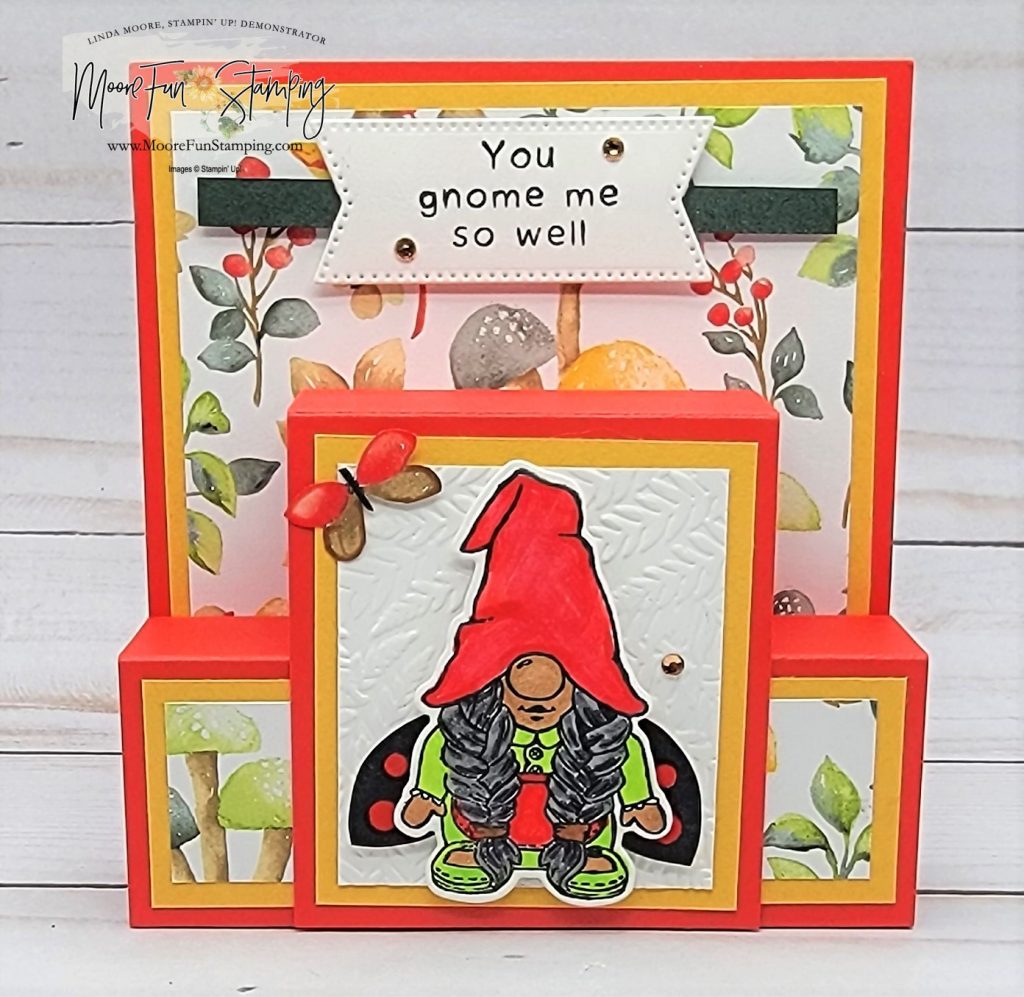
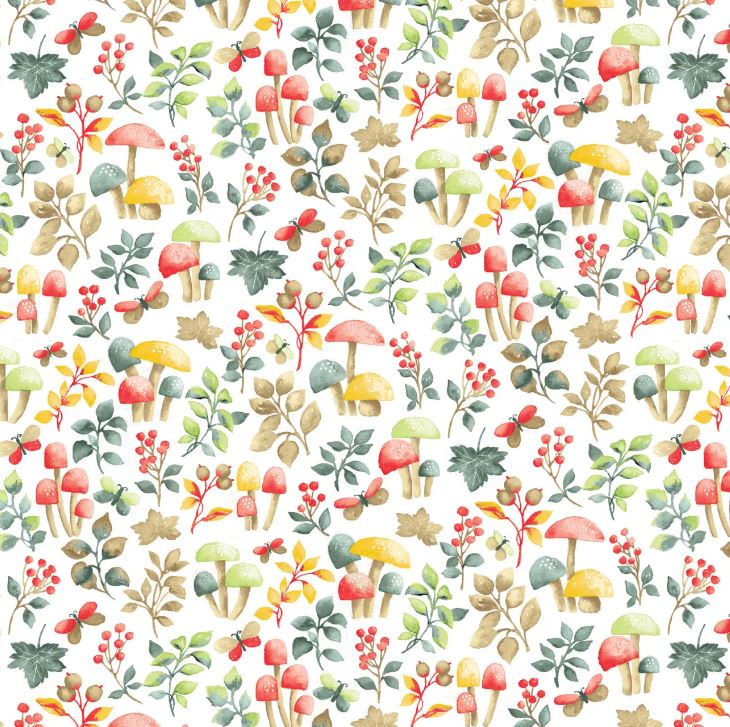
The Designer Series Paper I used is the Rings of Love – and it’s a free Sale-a-bration item with a qualifying order (until August 31st or while supplies last).

I choose the paper that has mushrooms on it. Goes perfect with my gnome.
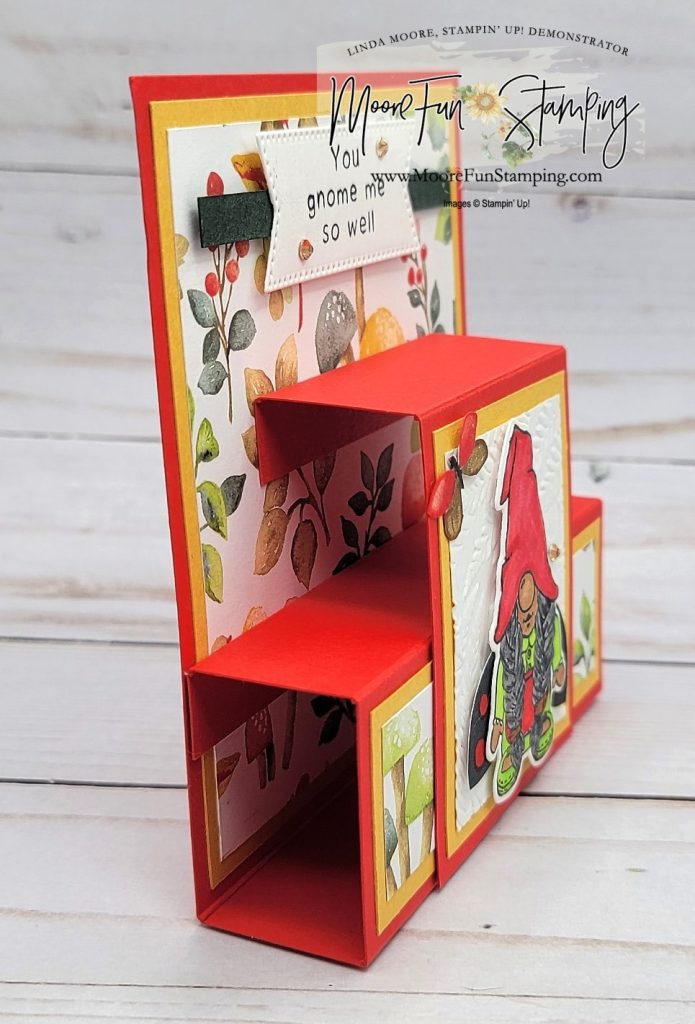
The side view.
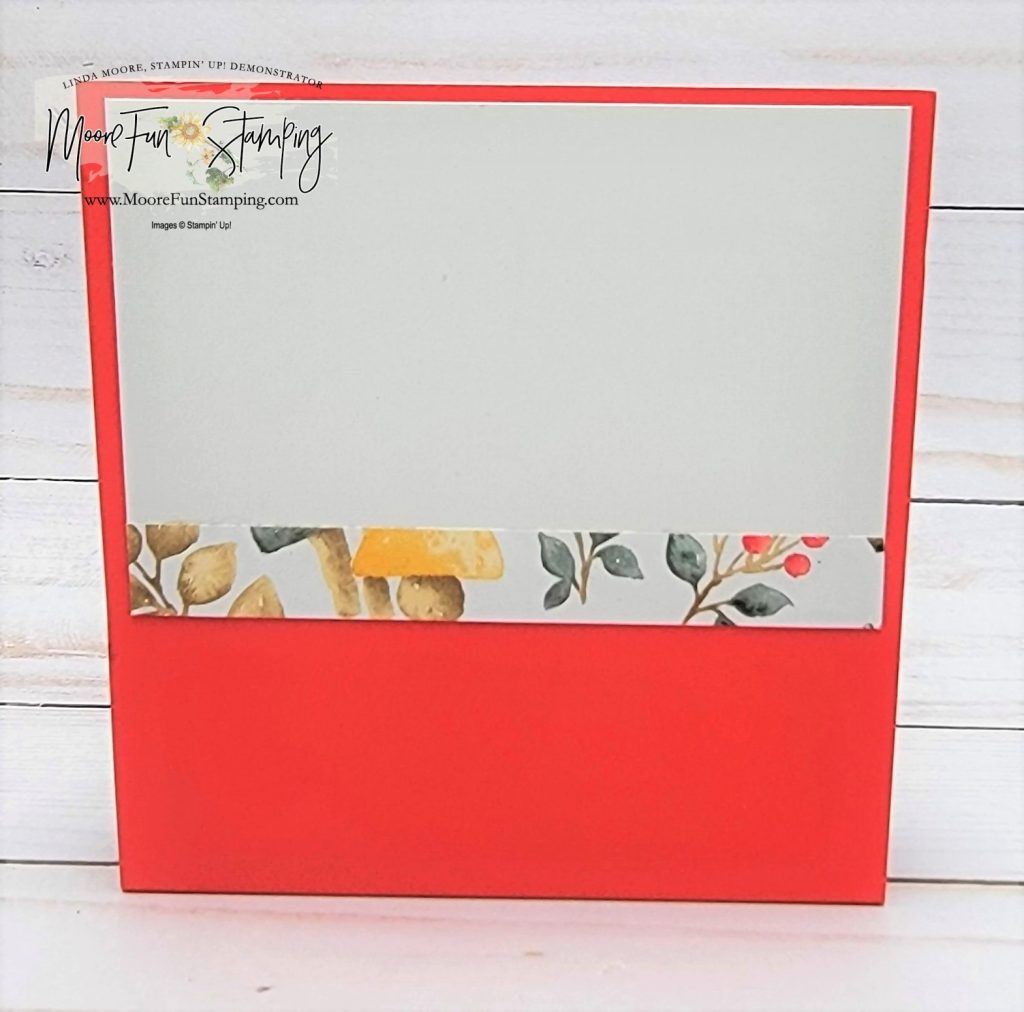
The back is where you can write your message.
How I assembled my card
- The card base is Poppy Parade measuring 4 1/4 x 8 1/2, scoring at .5, 1.5, 3, and 4 inches
- Prior to making the box, Using Multipurpose Liquid Glue, adhere Bumblebee card stock (retired) and the Rings of Love Designer Series Paper to the 4.25 x 4.5 section.
- On the 1.5 x 4.25 section of the card base, adhere the card stock panel and Designer Series Paper.
- Burnish all score lines.
- Adhere Tear and Tape to the .5 section.
- To form the box, remove tear and tape liner and fold the flap. Then fold on the 3-inch score line and press down.
- The pop-up front panel is Poppy Parade measuring 2.5 x 4.25 scoring at .5 and 1.5 inches
- Adhere card stock panel and embossed Basic White card stock
- Burnish score lines
- Adhere Tear and Tape to the .5 section and to the bottom edge.
- Remove the tear and tape from the bottom edge. Fold base on the 3-inch score line, line the front panel’s bottom edge, and press down.
- Remove tear and tape liner from the .5 section, fold the flap, and press down.
- Stamp the girl Gnome image in Memento Tuxedo Black Ink and die-cut out. Color using Stampin’ Blends and Stampin’ Write-Markers.
- Stamp Ladybug wings in Memento Tuxedo Black Ink on Basic White card stock and punch out with the Ladybug Builder Punch.
- Cut the wings in half, and adhere to the gnome using Mini Glue Dots.
- Adhere Gnome to the front panel with a Stampin’ Dimensional.
- Stamp sentiment and die-cut using die from Stylish Shape Dies.
- Adhere Basic White card stock and a strip of the designer series paper for the back.
- Add embellishment as desire – remember the rule of 3’s.
I hope I have inspired you to make your own Pop-Up Front Panel Card. I love my Gnome Ladybug. I might try a butterfly or dragonfly next. Click here to see the first card I made with the Kindest Gnome set.
If you reside in the United States and do not have a Stampin’ Up! demonstrator, don’t hesitate to get in touch with me at
linda@moorefunstamping.com.
I would be delighted to assist you in your crafting endeavors.
If you could kindly leave a comment, I would greatly appreciate it.
Until next time
Linda
To purchase any or all the supplies I used for my Gnome Ladybug, click on the “Add All to Cart” button or click on the individual icons.
Product ListContact me at moorefunstamping@gmail.com to get your copy of the Annual, Mini, and Sale-a-bration catalogs.



Leave a Reply