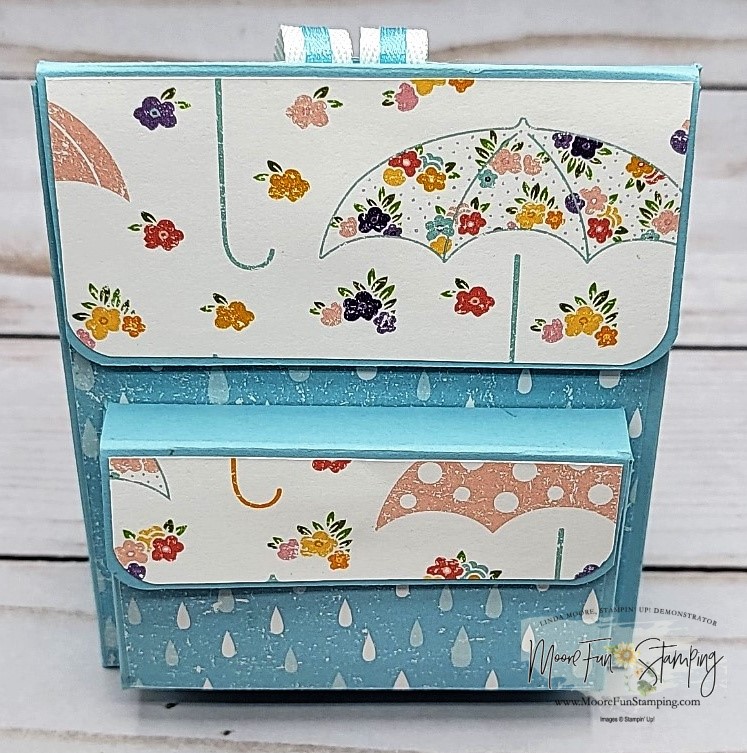
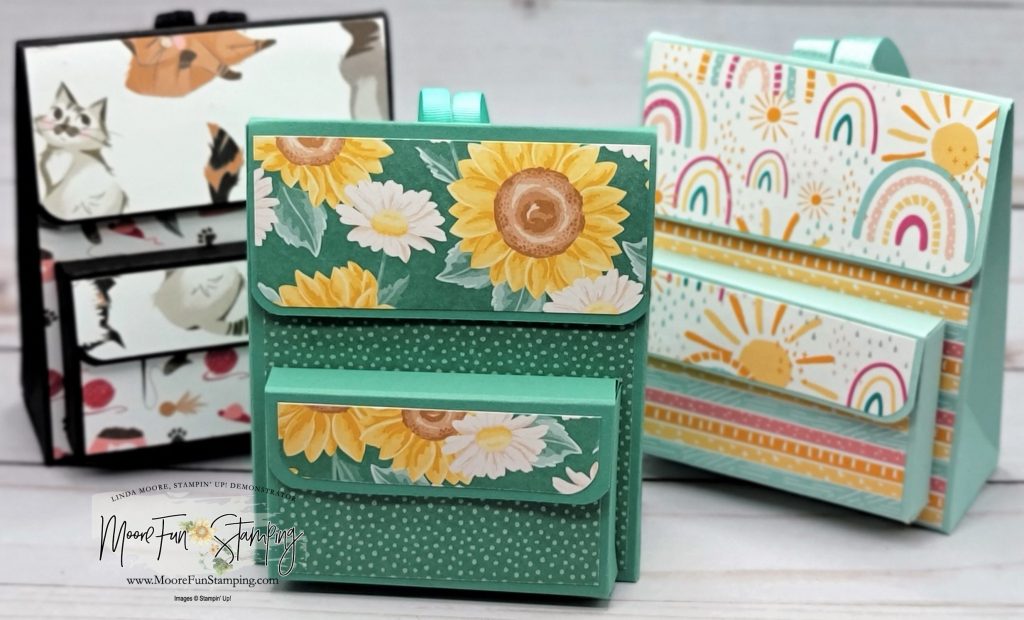
Hello everyone and thank you for stopping by today. I wanted to make something new for the vendor events that I attend, so I thought about a backpack. I searched Youtube and saw Pootles and Let’s Get Scrappy Youtube videos and combined both ideas.
I basically made my backpack the same way Sam Hammon (Pootles) did, (you can see her video here), but with a couple of slight changes, I learned from Let’s Get Scrappy.

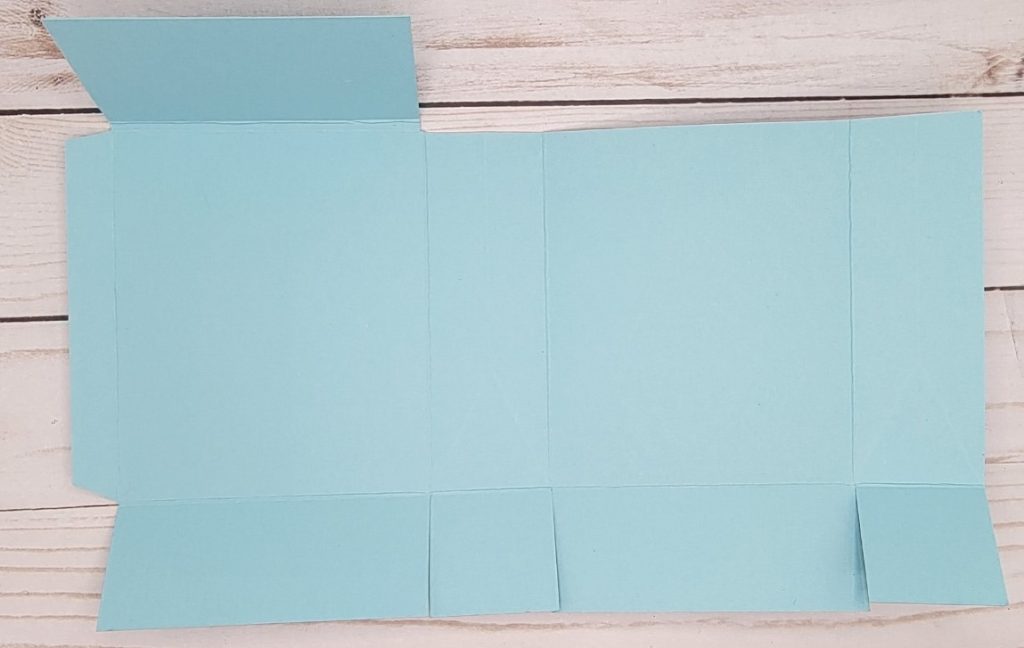
Here’s the template for the body of the backpack
Card stock measuring 8 x 11
Score on the long side at:
1.5. 5.25, 6.75, and 10.5
Turn the card stock with the 1/2 inch facing down
and score on the short side at 1.5, 6, and 6 1/8 (this will create a gusset)
and turn again on the long side, and partial score at .75 and 6 inches down to the 5-inch mark
Lay the card stock on a piercing mat, and from the two partial score marks, score to create an upside-down “V” (shown in red) Once all the scoring is complete, cut away what isn’t needed – shown by the “X”s. Cut the bottom sections to the 1.5 score lines (to create the flaps).

Burnish the score lines except for the partial score line. Round the corners on the flap and this is what your card stock should look like once all the cutting is complete.

Adhere the DSP to the outside flap using Multipurpose Liquid Glue. For the inside flap, I used Tear and Tape to adhere the magnet then added the DSP. Using Tear and Tape doesn’t make it so bulky. Added Tear and Tape to the side flap and brought the rest of the body of the backpack over and pressed down.

To close the flap, place a magnet on the inside flap (will find its mate). Add tear and tape. Then slightly squeeze the backpack together and press down so the magnet will adhere. Cover with DSP.

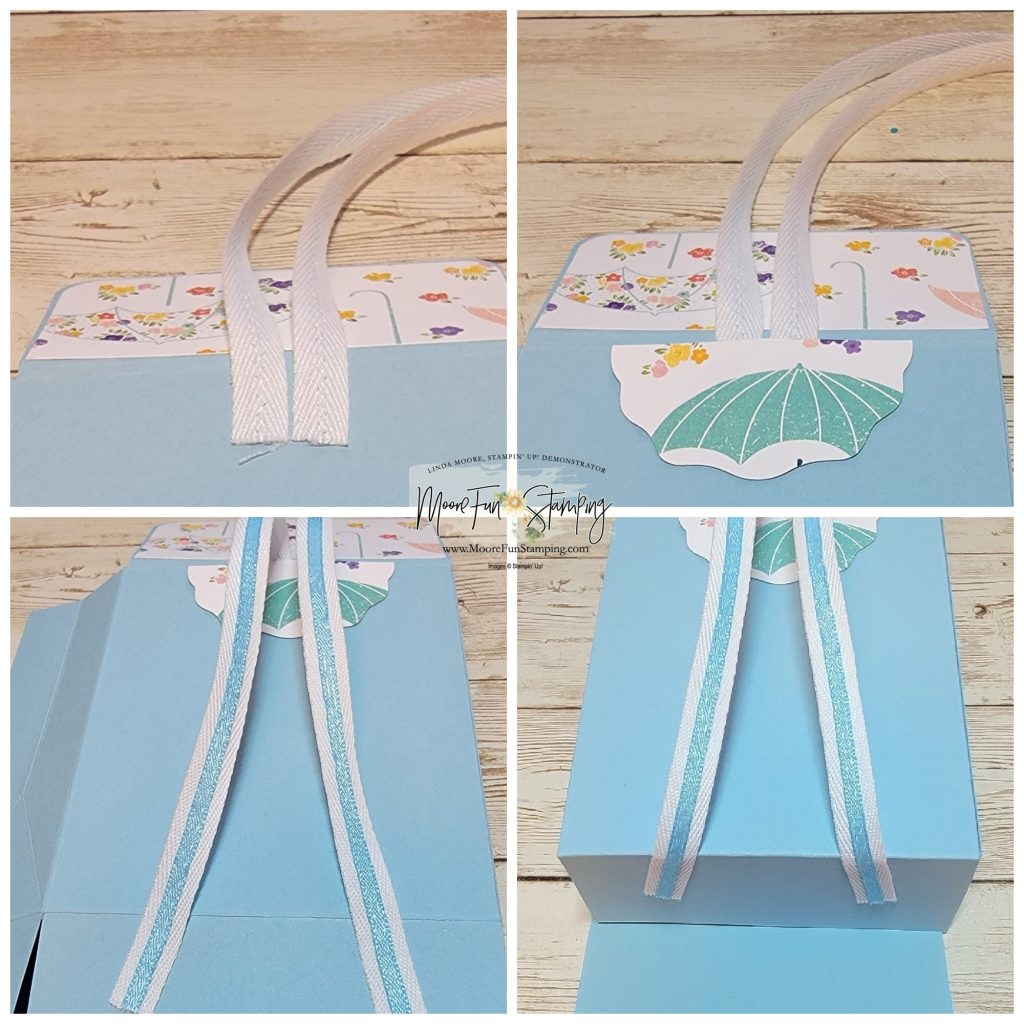
For the straps, I used two pieces of ribbon that measured 7 inches long each. Adhere Tear and Tape to the top just below the score line. To hide the edges, I punched out a half circle in card stock and DSP using the Decorative Circle Punch. Adhere Tear and Tape on the bottom edge of the ribbon and adhere to the flap that will fold back. To close the bottom, adhere tear and tape to the flap and fold up.

To make the pocket, just basically follow the directions for the backpack. I used Multipurpose Liquid Glue to adhere the pocket to the backpack.
I made a matching post-it note, but it’s a little too thick to fit properly inside. So I have ordered some mini post-it notes.

Measurements:
Backpack
Card stock: 8 x 11 – see template
DSP: 3 5/8 x 1 3/4 (need two) and 3 5/8 x 4 3/8
Ribbon: approximately 7 inches
Pocket:
Card stock: 8 x 4 score on the long side: .5, 3.75, 4.25, and 7.5 inches. Score on the short side: .5, 2.5, and 3 inches
DSP: 3 1/8 x .75 (need two) and 3 1/8 x 1 7/8

I do hope you will make a backpack and share it. Quick question – can you guess what song I have in mind head making these? Think of Dora the Explorer.
Thank you for stopping by and have a great crafty day.
If you reside in the United States and do not have a Stampin’ Up! demonstrator, don’t hesitate to get in touch with me at
linda@moorefunstamping.com.
I would be delighted to assist you in your crafting endeavors.
If you could kindly leave a comment, I would greatly appreciate it.
Until next time
Linda


Leave a Reply